
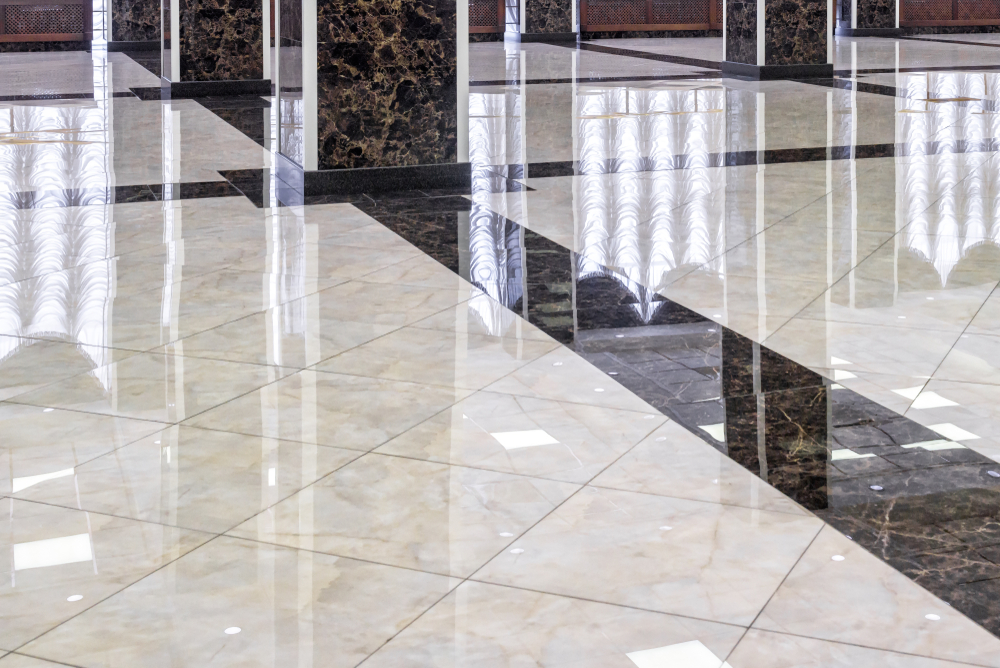
Maintaining a clean and shiny floor is essential, not only for aesthetic purposes but also for the hygiene of your home or office floors. Stripping and waxing are the two primary processes involved in floor maintenance that help to keep floors shining and looking brand new. While most people hire professionals to strip and wax their floors, it’s possible to do it yourself and save a considerable amount of money. This article will provide a comprehensive guide on how to strip and wax floor effectively.

What You Need to Strip and Wax Floor
Before you begin the process, you need to ensure that you have all the necessary tools and materials. These include:
- Floor stripper
- Wet Vacuum cleaner
- Mop
- Scrub brush
- Bucket
- Floor wax
- Applicator
- Microfiber mop
Steps to Strip and Wax Floor
Step 1: Clear the Floor
Remove all the furniture, chairs, and rugs from the floor to be stripped and waxed. This will prevent any damage to them from the chemicals used in the stripping process.
Step 2: Prepare the Floor
Sweep and vacuum the floor to remove dust and debris, and make sure the surface of the floor is clean and dry before beginning the stripping process.
Step 3: Apply the Stripper
Wear gloves, goggles, and protective clothing while using the floor stripper. Mix the stripper as per the manufacturer’s instructions and apply it using a mop or a sprayer, ensuring that you cover the entire floor evenly. If the floor is large, you might need to work in sections.
Step 4: Allow the Stripper to Work
Allow the floor stripper to work for the required time as per the manufacturer’s instructions. Usually, most strippers require a minimum of 15 to 20 minutes. Do not let the stripper dry; regularly check it and add more stripper if needed.
Step 5: Scrub the Floor
Use a scrub brush or a floor machine to scrub the floor and loosen the wax. Focus on the areas that have a lot of wax build-up. Work your way through the entire floor.
Step 6: Clean the Floor
After scrubbing the floor, use a wet vacuum to remove the dirty stripper solution. Rinse the floor with clean water, and ensure that no stripper residue is left on the floor.
Step 7: Allow the Floor to Dry
After rinsing the floor, use fans or air conditioning to dry the floor. Avoid walking on the floor until it is completely dry.
Step 8: Apply Wax
Once the floor is dry, it’s time to apply the wax. Shake the wax bottle well before using, and pour a small amount of wax into a bucket. Use an applicator to apply the wax to the floor, moving in small sections from the back of the room towards the door.
Step 9: Allow the Wax to Dry
Allow the wax to dry for at least 30 minutes before applying the second coat. The floor needs to have a glossy appearance after the wax dries. If the floor looks dull, apply another coat of wax until the desired appearance is achieved.
Step 10: Buff the Floor
After the wax is completely dry, use a buffing machine to buff the floor. This step will help to make the floor shine and remove any scuffs or marks.
Stripping and waxing your floor can seem like a daunting task, but it’s worth the effort when you see the results. By following the steps outlined above, you can strip and wax your floor like a pro. Keep in mind that it’s essential to follow the manufacturer’s instructions carefully and work in a well-ventilated area. Once you have a clean and shiny floor, take good care of it by cleaning it regularly to prevent the need for stripping and waxing again anytime soon.